
In this post, our collaborator, Light Addict, explains how to germinate cannabis seeds successfully.
To begin, let’s look at how compost inoculate teas can be used to help nullify the risk of unwanted bacteria and pathogens encountered once the cannabis germination/planting process has started. This is managed through the introduction of beneficial bacteria and mycorrhizal fungi to the process via compost teas used for either pre-soaking your plugs, cubes, potting medium, etc, or drenching the medium shortly after germination. These beneficial bacteria and mycorrhizal fungi colonize the root-zone creating a symbiotic relationship with your cannabis plant roots, leading to improved levels of nutrient/water uptake, general plant health and resistance to stresses.
Environment
Cannabis seeds need only three simple requirements to germinate:
- moisture
- warmth
- darkness
So why are there so many different methods and opinions? Simply put, there are many different ways to give your cannabis seeds these 3 basic environmental requirements. So, within these simple basic provisions, what are the best ranges to promote a successful germination of your cannabis seeds?
Moisture: you’re looking for a medium level of dampness, never soaking (water method excepted).
Temperature: you’re seeking to provide a range somewhere in the vicinity 23-26C / 75-80F.
Then lastly, darkness: total light deprivation isn’t truly a requirement. However, as it’s so simple to provide, it’s the option most of us choose. With all 3 of the above requirements, consistency can also aid in success.
Methods to germinate cannabis seeds
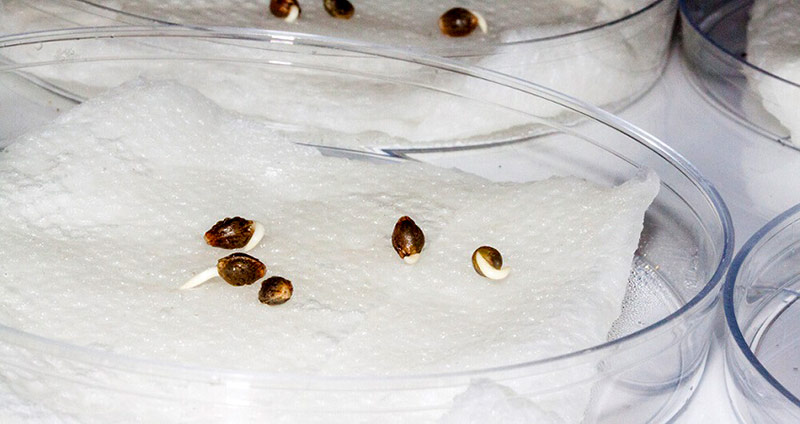
Paper towel
One of the oldest, most popular methods to germinate cannabis seeds for small-scale growers is the paper towel method. Using some folded up paper towel, we create a bedding layer for the seeds. Place this bedding layer inside an opaque container of suitable size, then dampen it with water via a spray bottle. Place your seeds on top, before covering with more paper and spraying once again with water. Close your container up and then place it somewhere warm to germinate. Once the tap roots have shown, simply plant it in chosen medium.
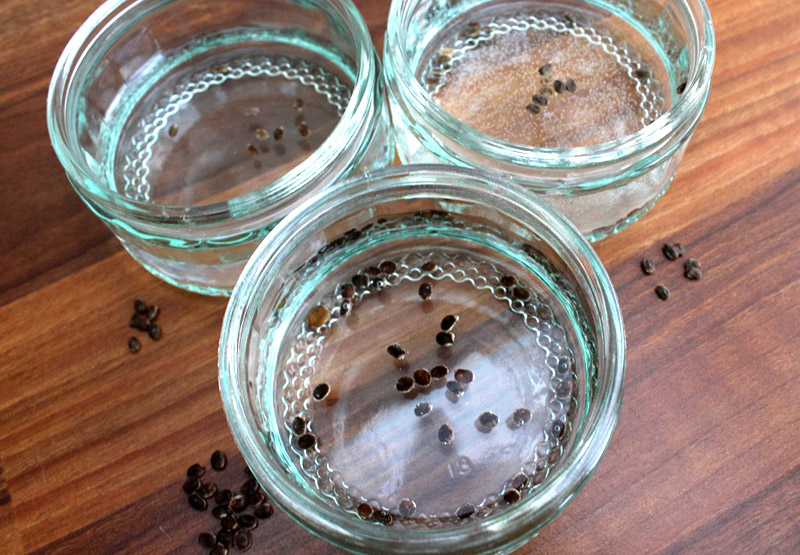
Water soak
There’s no easier method than this, although it’s only really suited for the small-scale grower. Drop your seeds into a shot glass, then fill it around 3-quarters with water, before placing your glass in a warm, dark area. You may need to return after a couple of hours, just to tap any remaining seeds that are still floating down to the bottom. Wait once more until the tap root has shown, before planting it to medium. However, please keep this in mind: if germination hasn’t begun within 36 hours, I’d recommend removing the seeds from water and placing them in paper towel to prevent your seeds drowning.
Seed plugs, rockwool cubes and peat pellets
These 3 different starting mediums share the same basic process when it comes to actual seed germination and are all suitable for any size of operation, although some require a little more care and caution when being prepared.
PLUGS
Versatility here is key, as they’re suitable for use with any medium or style of growing utilized further along in the growth process. Root plugs are specifically designed to make the germination process simple and successful, being made of a composition that holds moisture levels within an ideally suited range. Another big plus when it comes to root plugs is that generally they’re made from composted and broken down organic materials. Yet please, check your chosen brand ingredients for yourself. Take your seed and insert into the plug’s hole. Tear a small section of the plug away from a corner or the bottom section and stuff this into the hole to cover the seed. Then place your plugs into your germination space or propagator, using a constant light source and again remembering to keep an eye on moisture levels as you await germination.
CUBES
CAUTION: Rockwool is a hazardous material. Somewhat like fiberglass, its dust can be breathed in, yet not expelled from the lungs. It’s also an irritant. So, both gloves and a face mask should be used when handling it. Rockwool is an inert medium, suitable for all general growing practices. This means, soaking your cubes in pH-adjusted water prior to use is a necessity. Once soaked, let drain, drop your seed into the hole, and tear a corner section off your cube and use it to cover the seed up from the light. Then place your cubes in your propagator under your chosen light source and wait.
PELLETS
Peat pellets are quite similar in appearance and design to the plugs once expanded. One major issue with peat pellets is that peat is not a sustainable source of material, or an eco-friendly one. Peat pellets come dried out, making pre-soaking them necessary. Once ready, they’ll have expanded to over double their original size. Then just make your own little insertion into the top of the pellet, before dropping your seed in and then covering over with another section you’ve torn off your pellet.

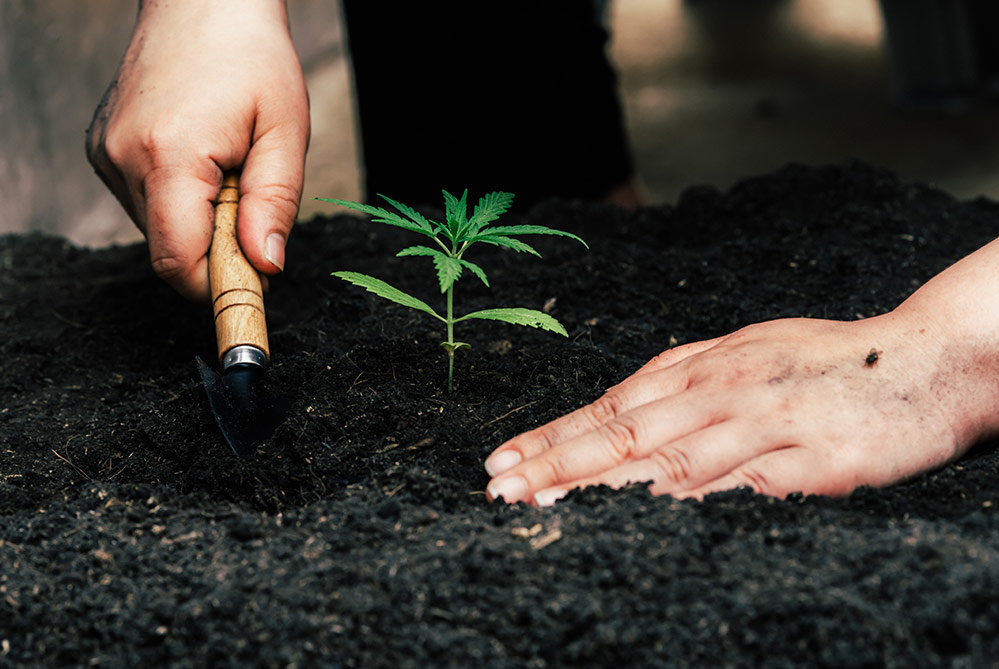
Seed, straight to medium
Take your desired pot of media and water an hour before planting (pH’d, if required, as with soilless). Make a small hole, 0.5-0.75 of an inch is a good depth, then place your seed in and cover over. Finally, place your pot under your light source and wait. As with the other methods, keep an eye on your moisture levels. Although we strive to keep moisture levels constant, please remember that over-watering the medium can sometimes cause failure. Take into consideration the feeding requirements for new seedlings: no nutrients are needed in the first week or so of a seedling’s life, even if using an inert medium such as Coco or Rockwool. This is because the seed will be using its own stores of energy.
Happy growing!
~ Team HSO

0 Comments